Emoji and stickers
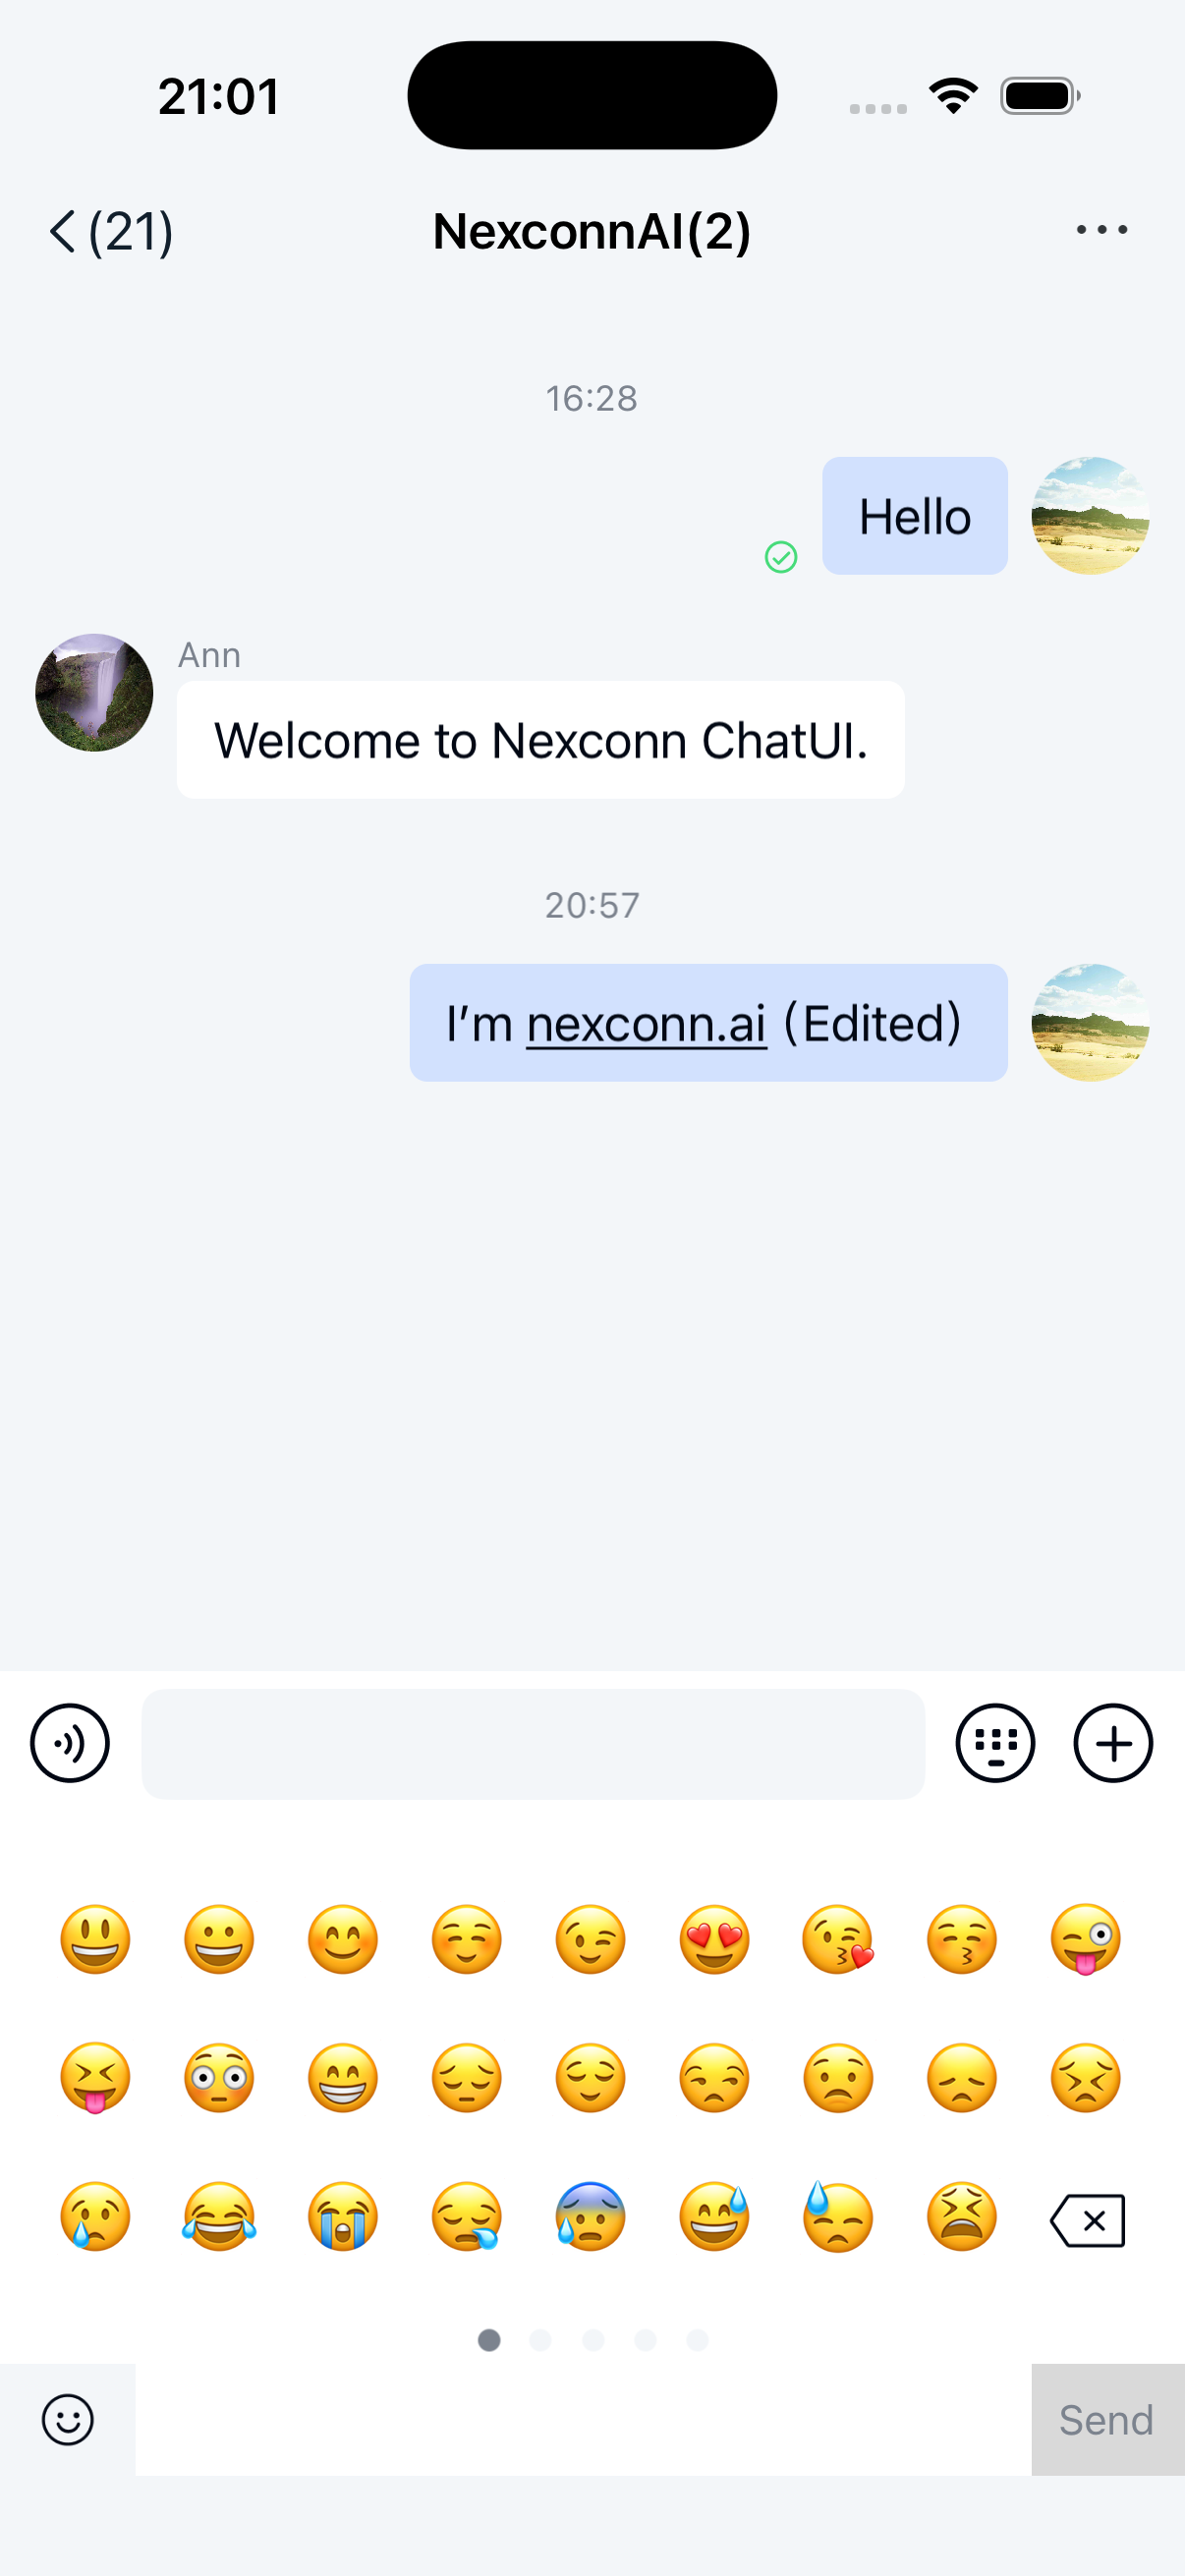
Users can send emoji and stickers from the Chat UI input area. Tap the emoticon (☺) button in the input bar to expand the emoticon panel. After sending, the emoticon message appears in the message list component on the channel page.
The emoticon panel in the Chat UI input area includes only emoji by default. To show stickers in the panel, integrate the rcsticker library. You can add custom emoticons.
Emoji symbols
The emoticon panel in the Chat UI input area displays built-in emoji symbols by default. Users can tap to send emoji symbols.
Support new emoji symbols (Emoji 13.1)
As users increasingly use emoticons across applications, Unicode updates the standard emoji set annually. According to the Android emoji policy:
-
If your app runs on Android 12 or higher and uses the default Android emoji without custom implementation, it already uses the latest Unicode emoji.
-
If your app runs on Android 11 or lower, it can automatically support Emoji 13.1 or newer emoji when the device has Google Play Services properly installed and running with network connectivity.
However, most devices in China do not have Google Play Services installed and cannot support Emoji 13.1 through downloadable fonts due to network restrictions. To support new emoji fonts on Android 11 and lower, you must bundle the emoji font into your app.
To simplify emoji adaptation, Chat UI SDK provides an emoji module. Integrate the emoji module into your project to support new emoji without additional code.
The current emoji font exceeds 10 MB. Consider whether to integrate the emoji module based on your actual needs.
    // If your androidx.appcompat:appcompat version is 1.4.0 or higher, add only this dependency
    implementation "androidx.emoji2:emoji2-bundled:1.3.0"

    // If your androidx.appcompat:appcompat version is lower than 1.4.0, add both dependencies
    implementation "androidx.emoji2:emoji2-bundled:1.3.0"
    implementation "androidx.emoji2:emoji2:1.3.0"
Disable built-in emoji in the emoticon panel
When users tap a channel in the channel list, the SDK automatically navigates to the channel page Activity (ChannelActivity) with built-in emoji. To hide the built-in emoji, navigate to the channel page manually and configure it to hide the built-in emoji. After disabling, the emoji tab does not appear in the emoticon panel on the target channel page.
API
RouteUtils.routeToChannelActivity(context, conversationIdentifier, disableSystemEmoji, bundle)
Parameters
| Parameter | Type | Description |
|---|---|---|
| context | Context | Activity context |
| conversationIdentifier | [ChannelIdentifier] | Channel identifier. The channelId is the target ID of the channel. For direct channels, use the other user's ID. For group channels, use the group ID. |
| disableSystemEmoji | Boolean | Whether to hide the SDK built-in emoji. true to hide, false to show. |
| bundle | Bundle | Extension parameters |
Sample code
String targetId = "userId";
ChannelIdentifier conversationIdentifier = new ChannelIdentifier(ChannelType.DIRECT, targetId);
Boolean disableSystemEmoji = true;

RouteUtils.routeToChannelActivity(context, conversationIdentifier, disableSystemEmoji, bundle)
Stickers
The Chat UI emoticon panel supports stickers. You can integrate a sticker extension module or add custom stickers.
Integrate stickers
Chat UI automatically detects the sticker extension class io.rong.sticker.StickerExtensionModule when the sticker extension module is available in your app.
-
Add the sticker extension module to your app project. If you use the source package, copy the sticker module directory to your app project.
-
Add the following configuration to
settings.gradlein the project root directory:Groovyinclude ':rcsticker' -
Add the following dependency to your app's
build.gradle:Groovyimplementation project(path: ':rcsticker')
After successful integration, StickerExtensionModule adds a sticker tab to the emoticon panel. On first tap, follow the prompt to download stickers. After successful download, all stickers display in the panel.
Custom stickers
Custom emoticon resource codes must not duplicate resource codes in nc_emoji.xml.
The StickerExtensionModule in the Chat UI rcsticker library implements the IExtensionModule interface. By implementing the getEmoticonTabs method, it adds a custom emoticon page (IEmoticonTab instance) to the Chat UI extension panel.
To add custom stickers, use one of two approaches:
- Implement the
IExtensionModuleinterface, implement thegetEmoticonTabs()method, and addIEmoticonTabinstances. This approach is described below. - Extend
DefaultExtensionConfigto create a custom extension panel configuration, override thegetEmoticonTabs()method, and addIEmoticonTabinstances.
The following steps show how to add custom stickers to the emoticon panel by implementing IExtensionModule.
-
Create
MyEmoticonTabthat implements [IEmoticonTab].Javapublic class MyEmoticonTab implements IEmoticonTab {
public MyEmoticonTab() {
}
@Override
public Drawable obtainTabDrawable(final Context context) {
return context.getResources().getDrawable(R.drawable.u1f603);
}
@Override
public View obtainTabPager(Context context) {
//See step 2
return initView(context);
}
@Override
public void onTableSelected(int i) {
}
@Override
public LiveData<String> getEditInfo() {
return null;
}
} -
In the
obtainTabPagermethod above, add the View you want to display in the emoticon panel. The following provides a reference example:Javapublic View initView(Context context) {
View view = LayoutInflater.from(context).inflate(R.layout.view_emoji, null);
RecyclerView rv = view.findViewById(R.id.recycler_view);
//LinearLayoutManager is used for list layout, a single-column list
GridLayoutManager mLayoutManager = new GridLayoutManager(context, 5, OrientationHelper.VERTICAL, false);
rv.setLayoutManager(mLayoutManager);
// Google provides a default animation for item deletion and addition
rv.setItemAnimator(new DefaultItemAnimator());
rv.setHasFixedSize(true);
//Simulate list data
ArrayList newsList = new ArrayList<>();
TypedArray array = context.getResources().obtainTypedArray(context.getResources().getIdentifier("nc_emoji_res", "array", context.getPackageName()));
int i = -1;
while (++i < array.length()) {
newsList.add(array.getResourceId(i, -1));
}
adapter = new NewsAdapter(newsList);
rv.setAdapter(adapter);
return view;
} -
Create
MyEmoticonTabExtModulethat implements theIExtensionModuleinterface. In thegetEmoticonTabs()method, return the list of emoticon pages provided by this module. Refer toIExtensionModule.javaand other implementation classes in the Chat UI source code.Javapublic class MyEmoticonTabExtModule implements IExtensionModule {
@Override
public void onInit(Context context, String appKey) {
}
@Override
public void onAttachedToExtension(Fragment fragment, NCExtension extension) {
}
@Override
public void onDetachedFromExtension() {
}
@Override
public void onReceivedMessage(Message message) {
}
@Override
public List<IPluginModule> getPluginModules(ChannelType channelType) {
return null;
}
@Override
public List<IEmoticonTab> getEmoticonTabs() {
List<IEmoticonTab> emoticonTabs = new ArrayList<>();
emoticonTabs.add(myEmoticonTab);
return emoticonTabs;
}
@Override
public void onDisconnect() {
}
} -
After initialization and before entering the channel page, register your custom
MyEmoticonTabExtModulewith the Chat UI input areaNCExtensionthroughNCExtensionManager.JavaNCExtensionManager.getInstance().registerExtensionModule(new MyEmoticonTabExtModule());
Hide the emoticon panel entry
When your app does not need to provide emoticon input functionality, you can hide the emoticon button in the input bar. After hiding, users cannot expand the emoticon panel. See Input area.