Build chat, calling, and server workflows with Nexconn
Start with SDK documentation, server APIs, and integration guides for real-time messaging and calling.
Real-time chat
Build direct, group, open, and community chat in your app.


1-to-1 and group calls
Build 1-to-1 calls, group calls, audio conferencing, and in-game voice chat.


Browse SDK docs by product and platform
Choose a product first, then jump to the platform docs you need for setup, core workflows, and API reference.
Chat SDK
Build messaging for direct, group, open, and community channels.
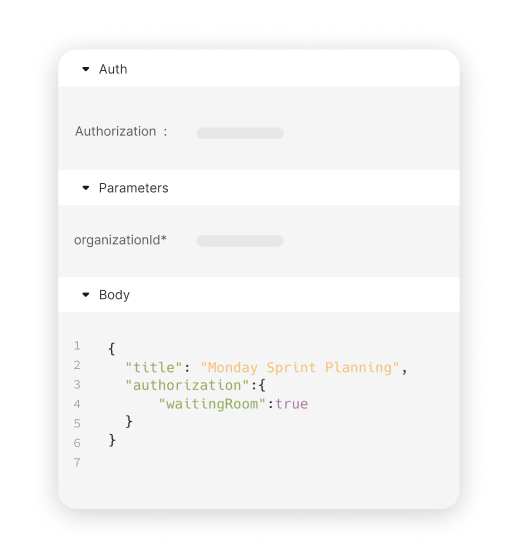
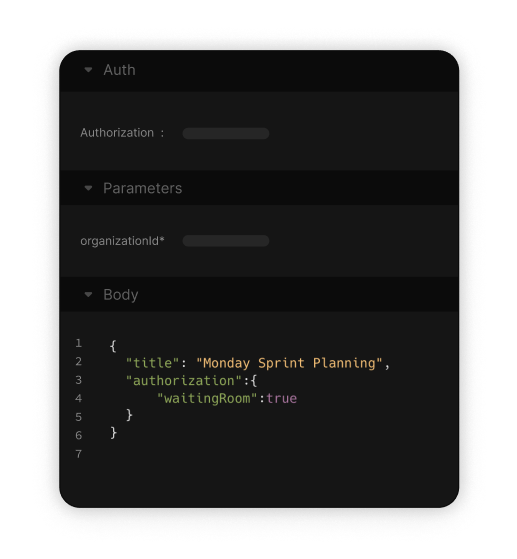
Build server-side workflows with APIs and webhooks
Use server APIs to send messages, manage users and channels, and use webhooks to receive events from Nexconn in your backend.
Chat Server API
Build server-side messaging workflows for direct, group, open, and community channels.
Need direct help?
Technical support
Open a ticket for SDK, API, integration, or production issues.
Create a support ticket →Sales and partnerships
Contact us about pricing, solution design, and partnership opportunities.
Email customercare@nexconn.ai →Explore more in the Nexconn Developer Help Center
Find setup guides, troubleshooting articles, pricing details, and service updates.